zabbix 监控接入钉钉告警
创建群聊

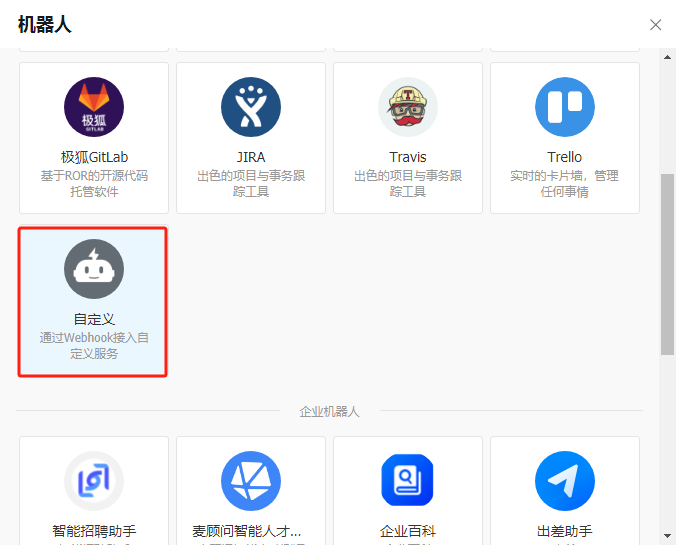
添加机器人
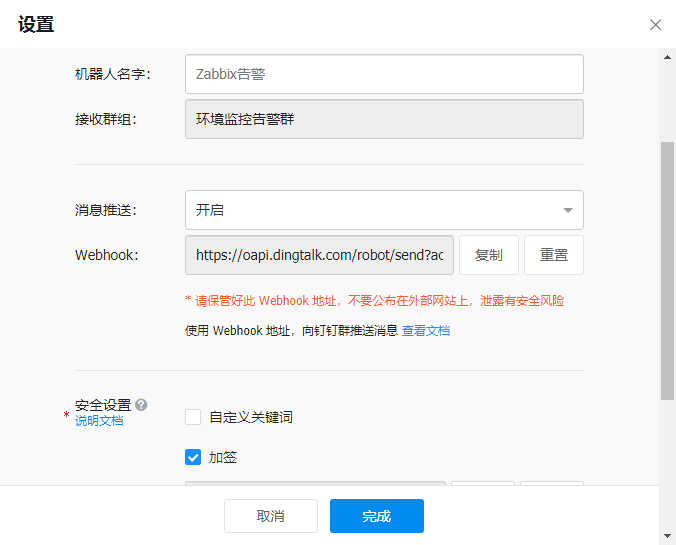
配置安全设置为加签,并记录Webhook和加签密钥
编写告警脚本
在alertscripts目录下添加以下脚本,修改Webhook与加签密钥
1 | #!/usr/bin/python3 |

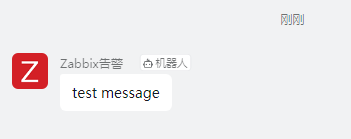
测试发送信息
1 | ./dingding.py all subject "test message" |
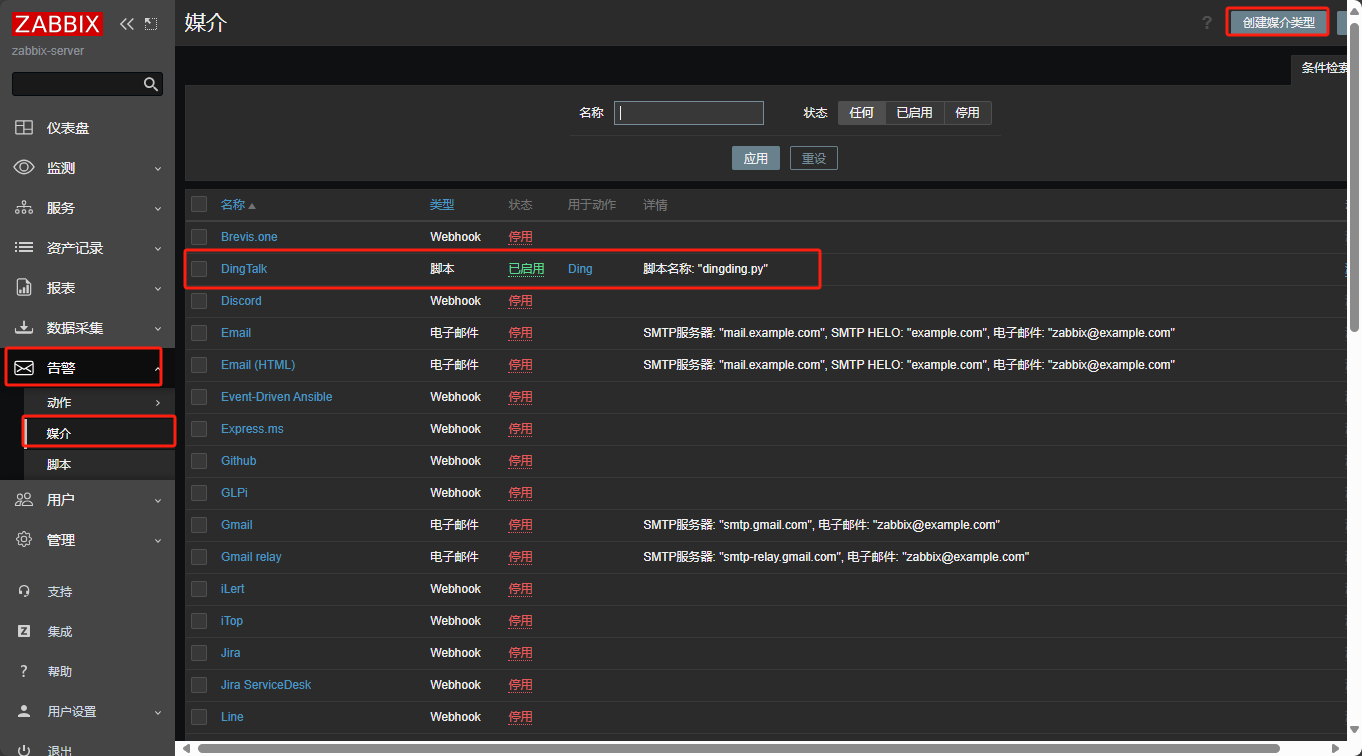
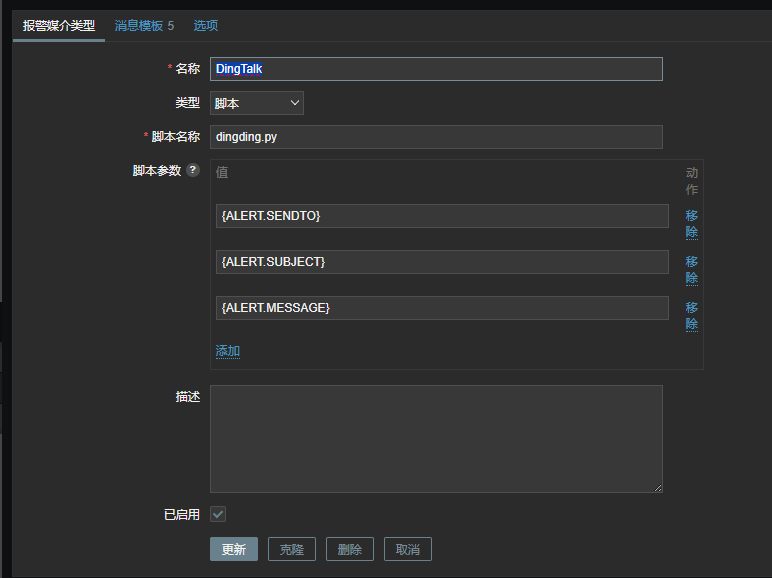
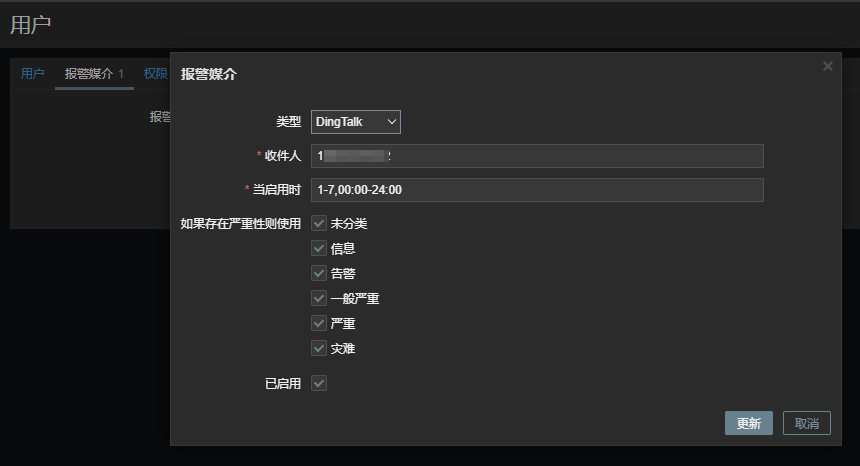
添加告警媒介
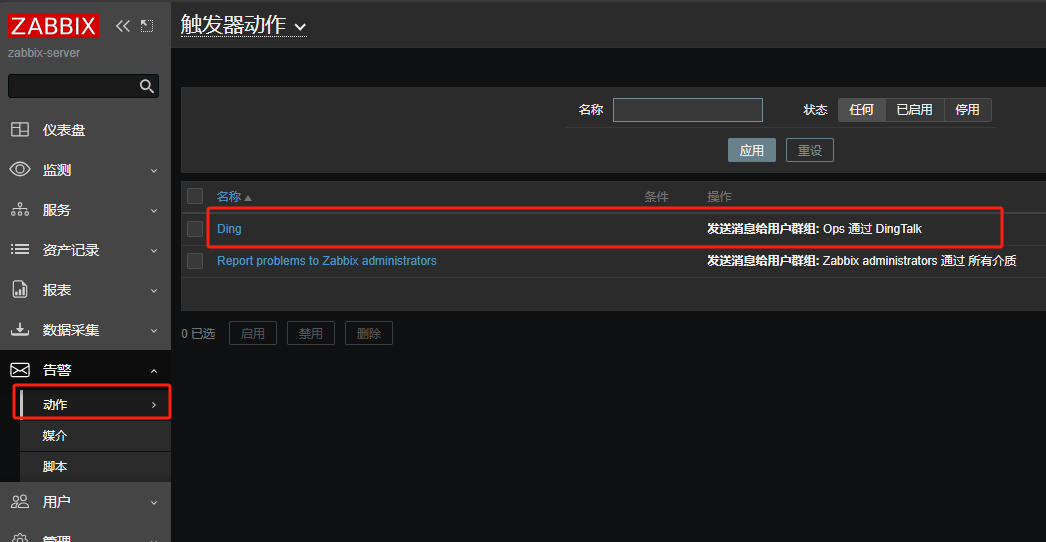
添加动作
触发器触发后告警给用户群组
添加用户告警媒介,收件人为钉钉注册的手机号,如果发送的是具体人会@。

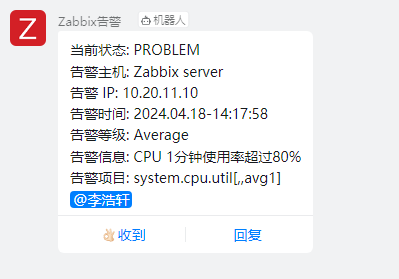
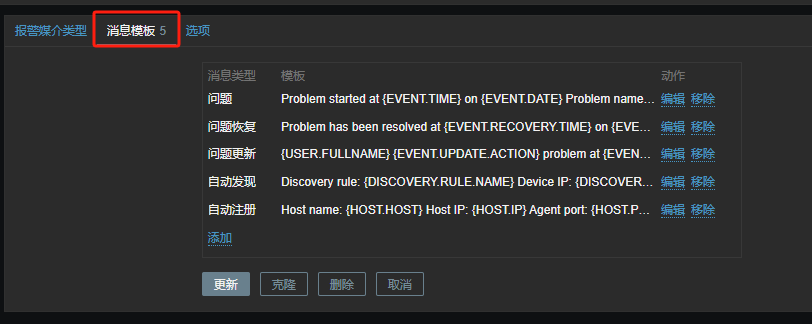
配置告警消息
1 | 当前状态: {TRIGGER.STATUS} |

测试触发告警
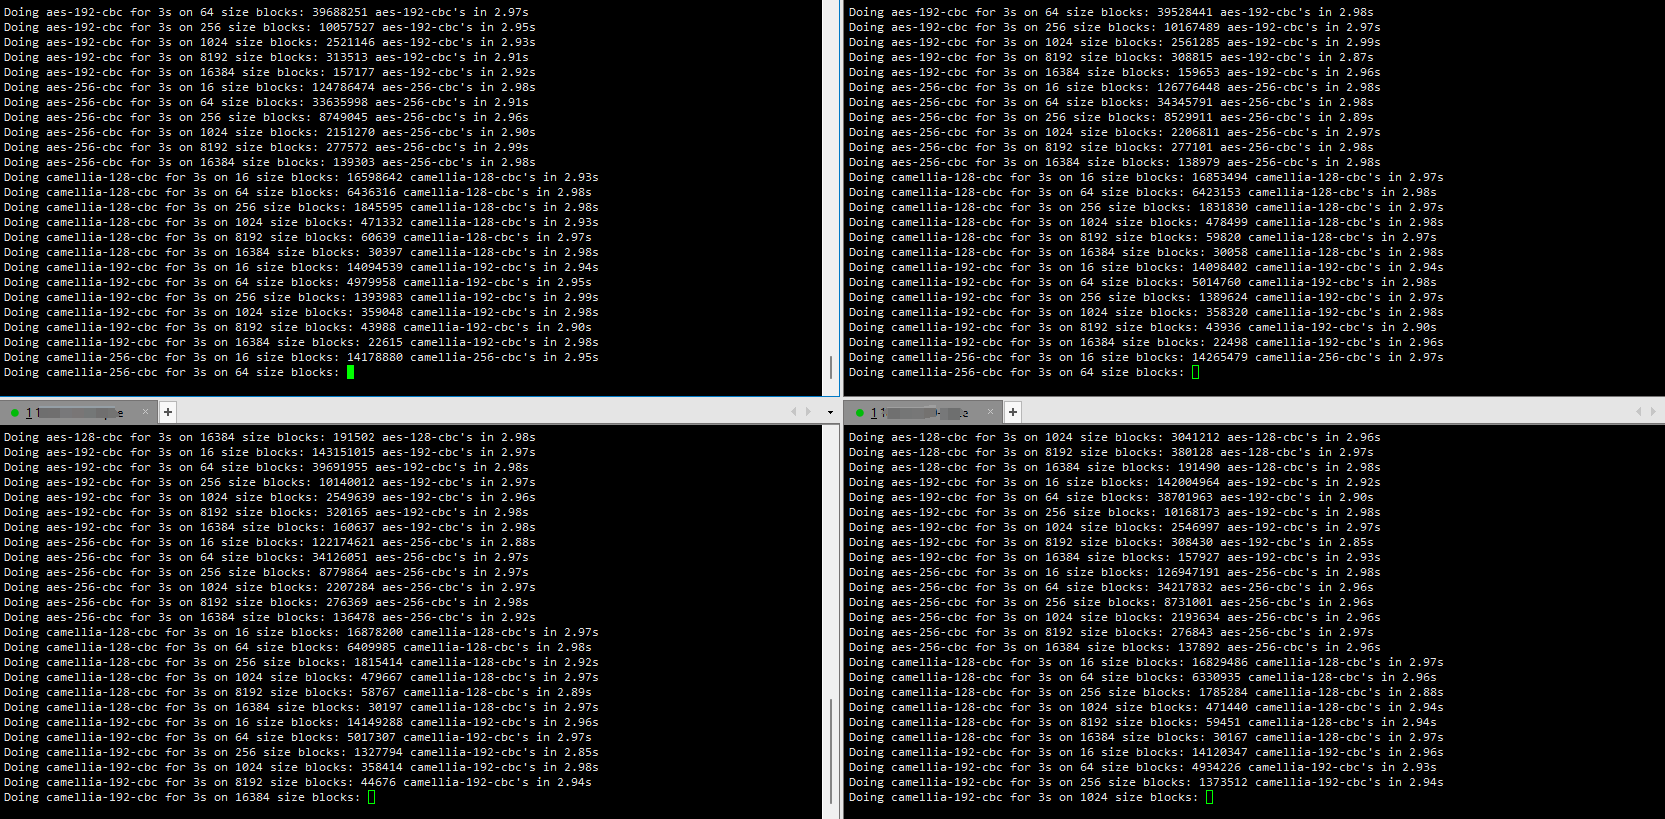
占用cpu单核心负载,根据核数开对应的终端,每个终端运行以下命令。
1 | while : ; do openssl speed; done |
当前是4核主机,开四个线程